


Reviewed by Kara P.
Verified Buyer
I recommend this product
A lot of work but great upgrade
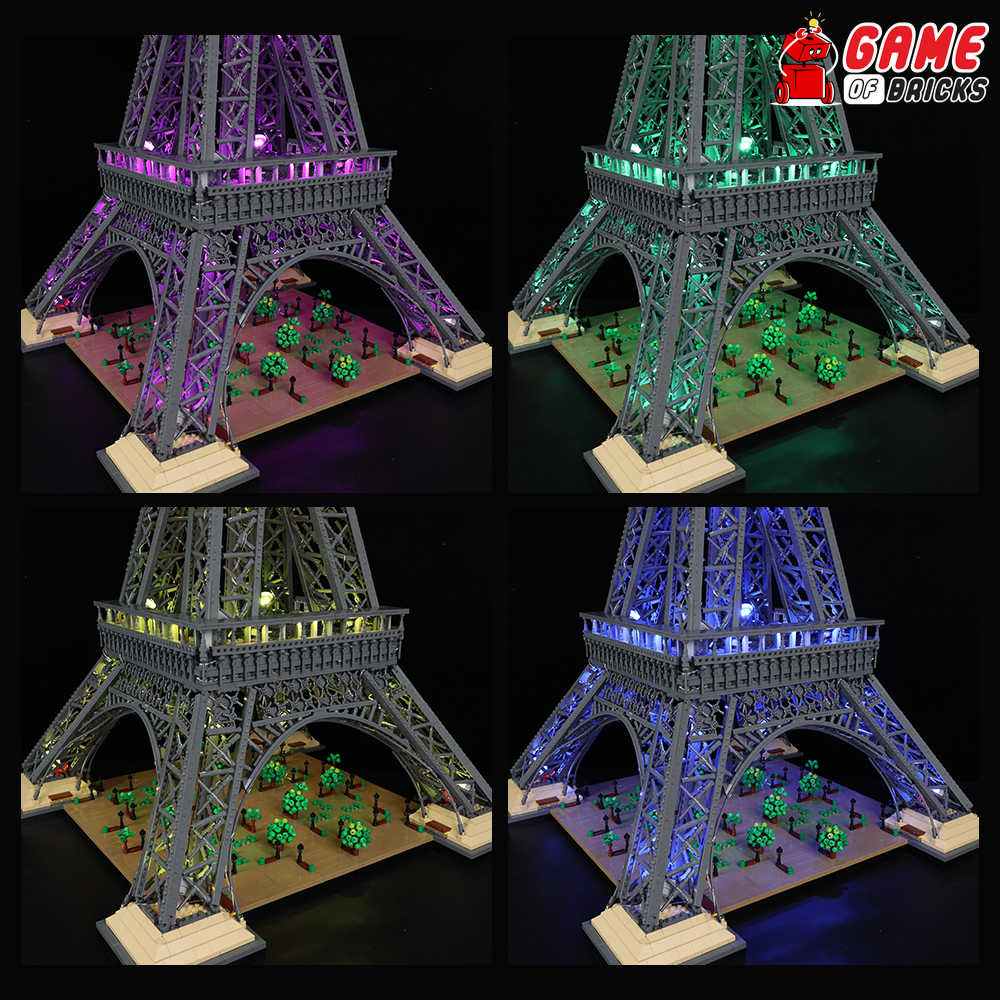
The room for improvement: The photos have a few focus issues making them harder to follow and a few had me make more assumptions than I was comfortable with because they essentially skipped what we were supposed to do. I appreciate the Lego-like image instructions but some direction text would have greatly helped me and my confidence. Also some of the wound up cables (for neatness in packing) were hard to undo without causing kinks. I was very afraid of them breaking. The color programmed modes don’t let you change to the same colors. I may just nothave the remote figured out yet but it doesn’t reliably do the same thing twice. Put a piece of tape to mark where to start them to get the right length of tails when you’re done. Maybe 1/2 way points too and capture that in the photos so you can adjust if you’re not at the right spot without gauging to unwind it all. Also what is the thick USB cable for? I can’t find the photo for what to do with it.
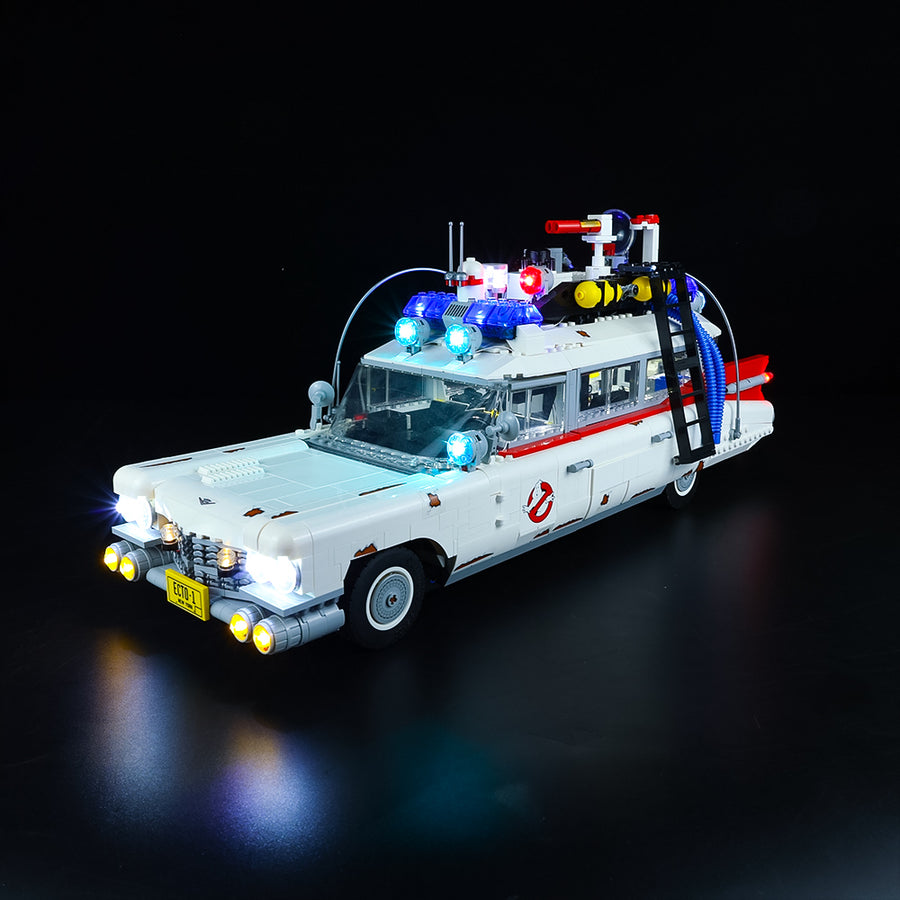
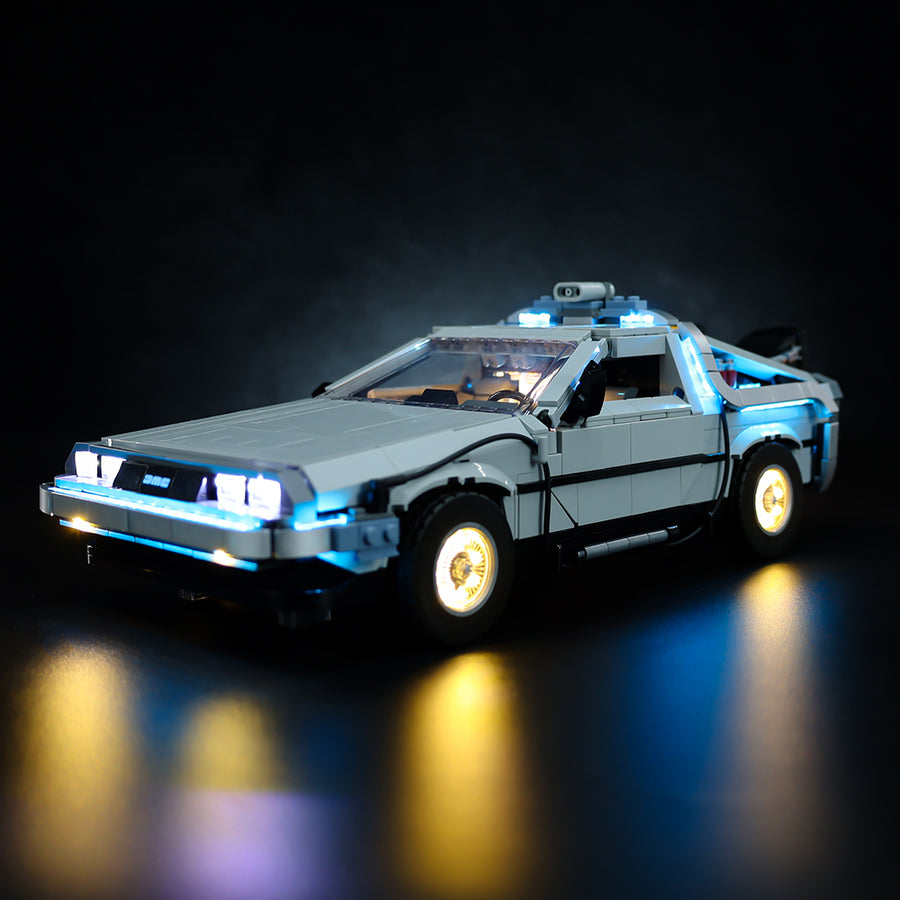
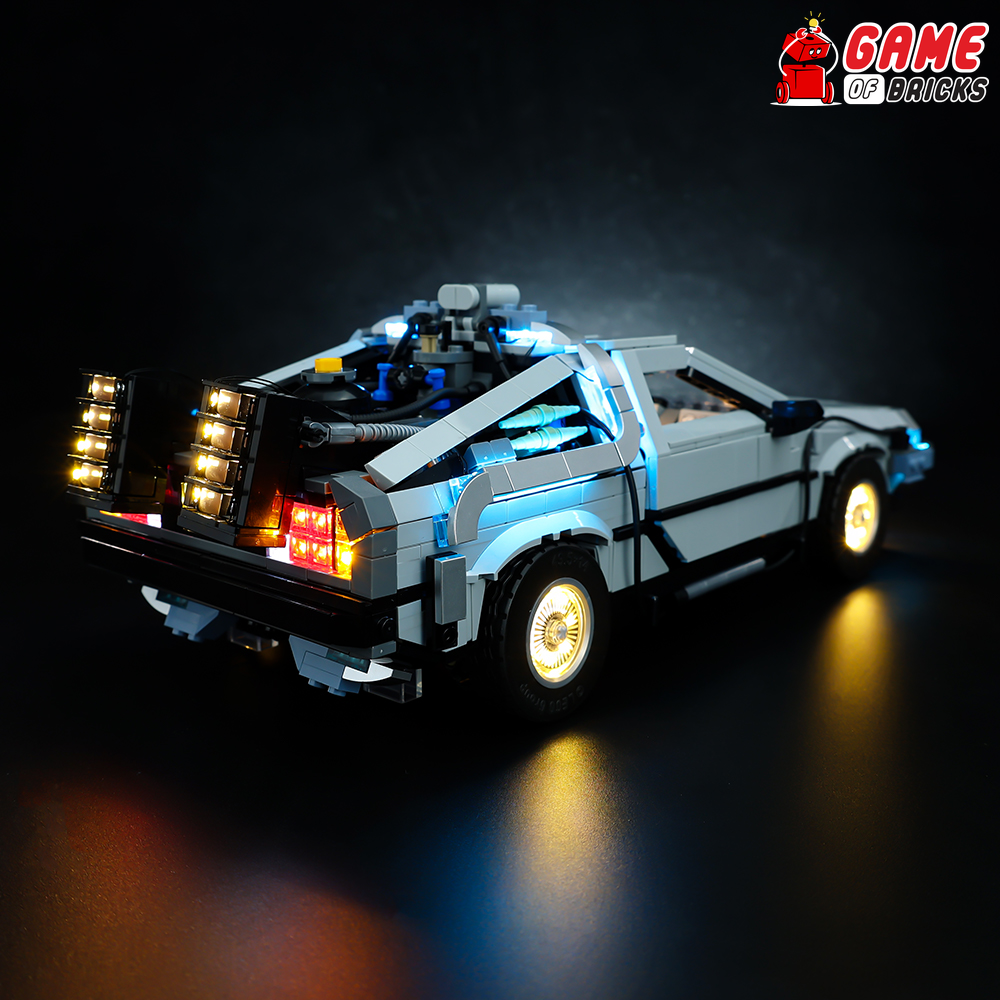
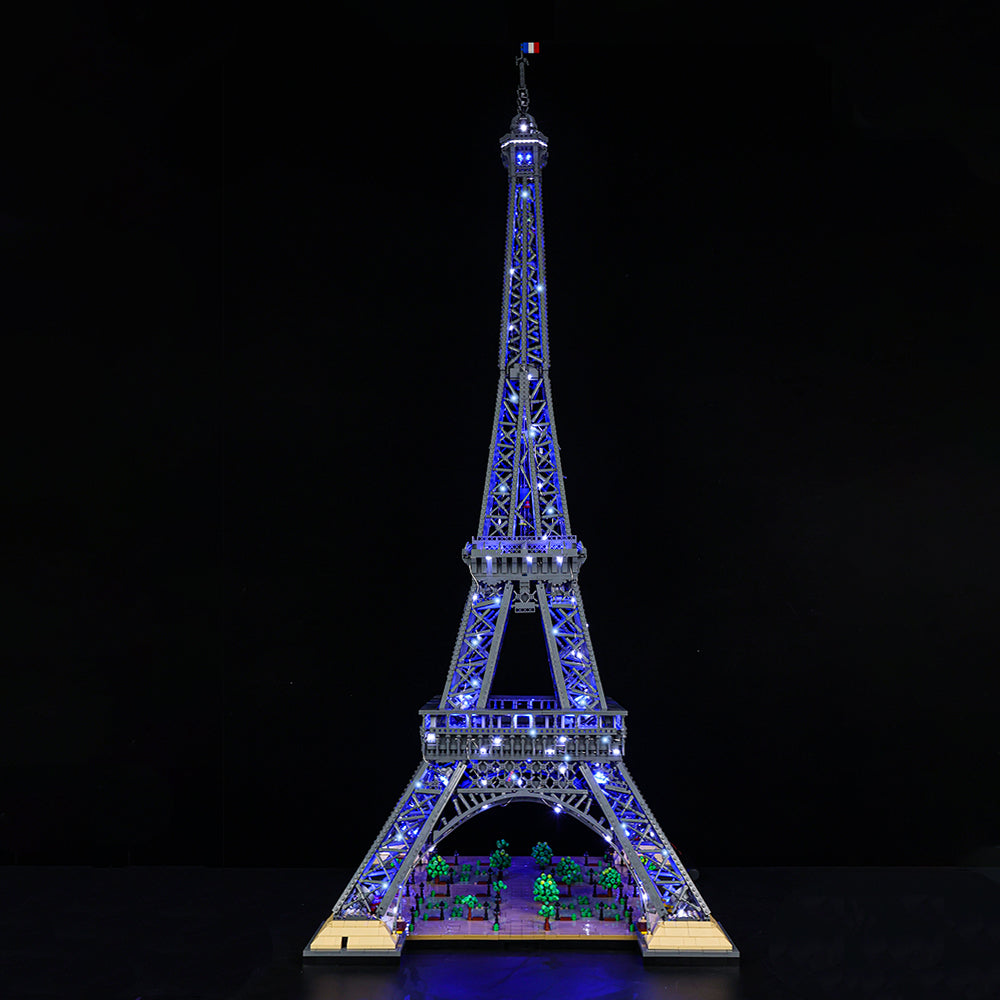
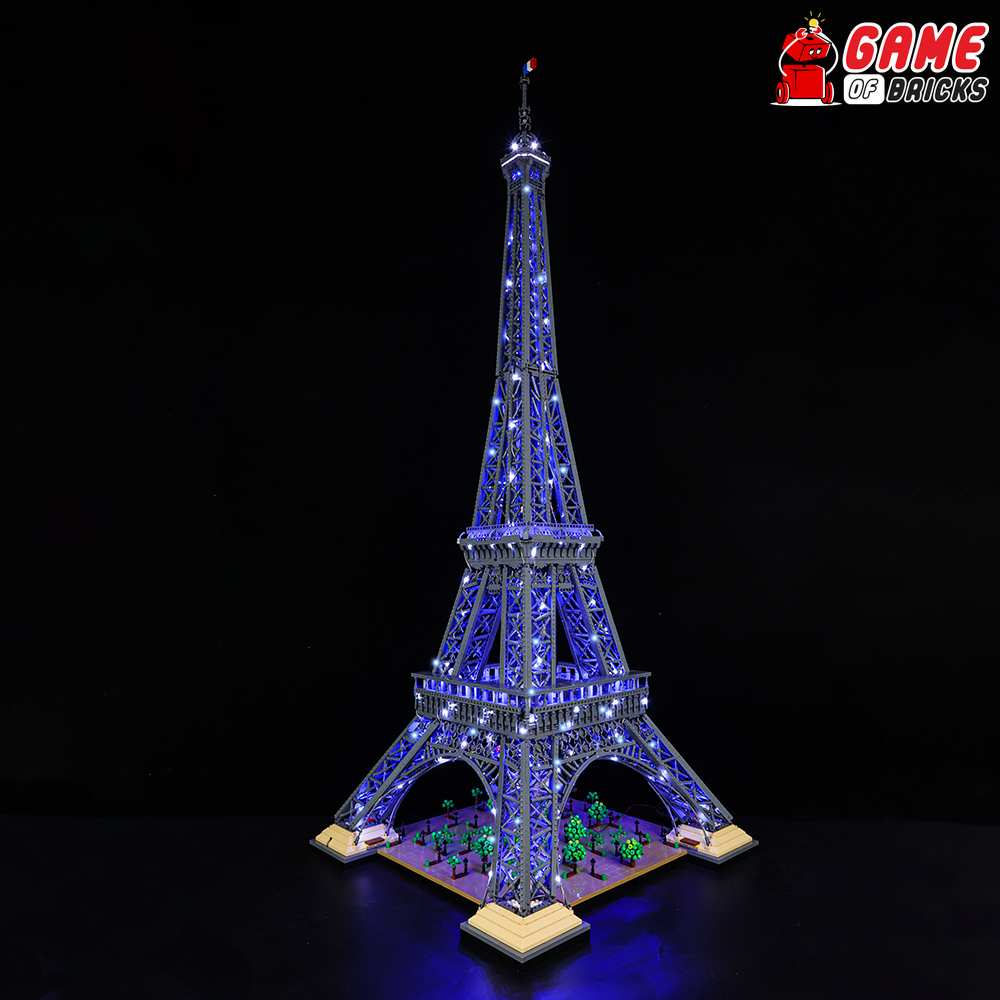
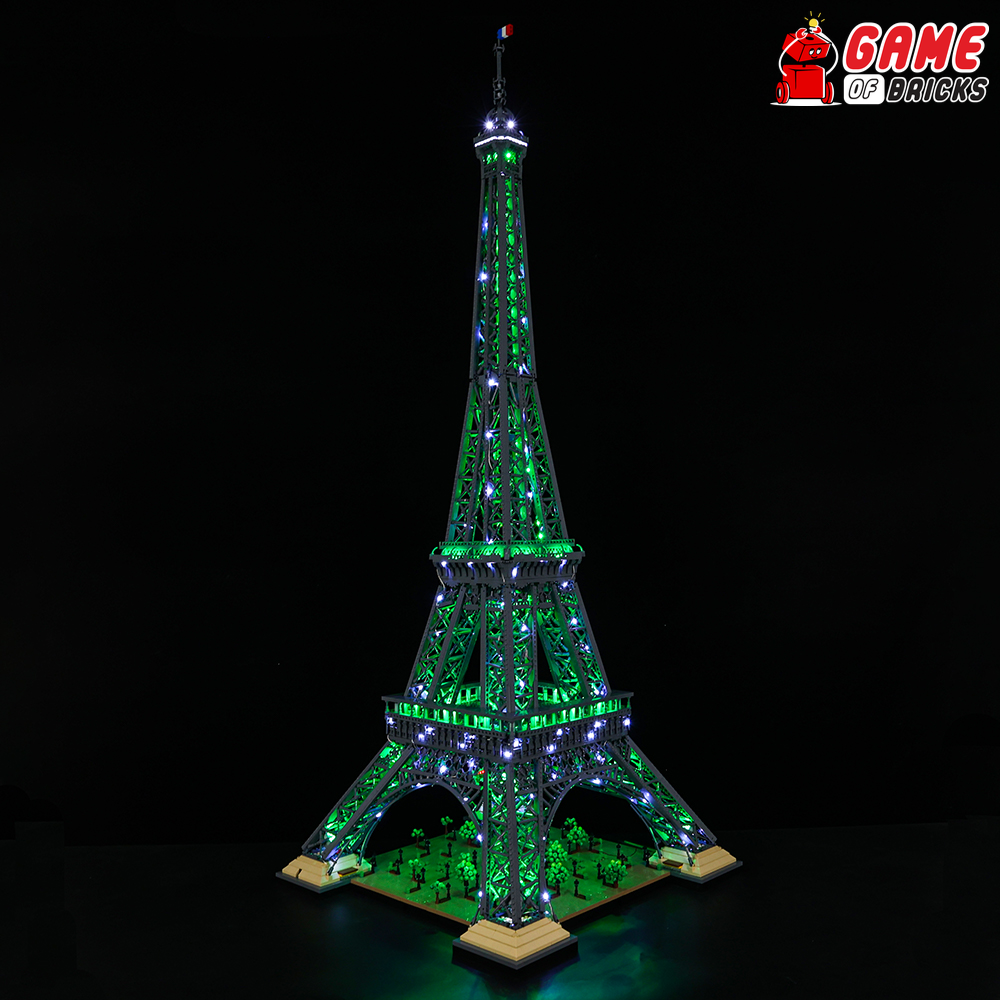
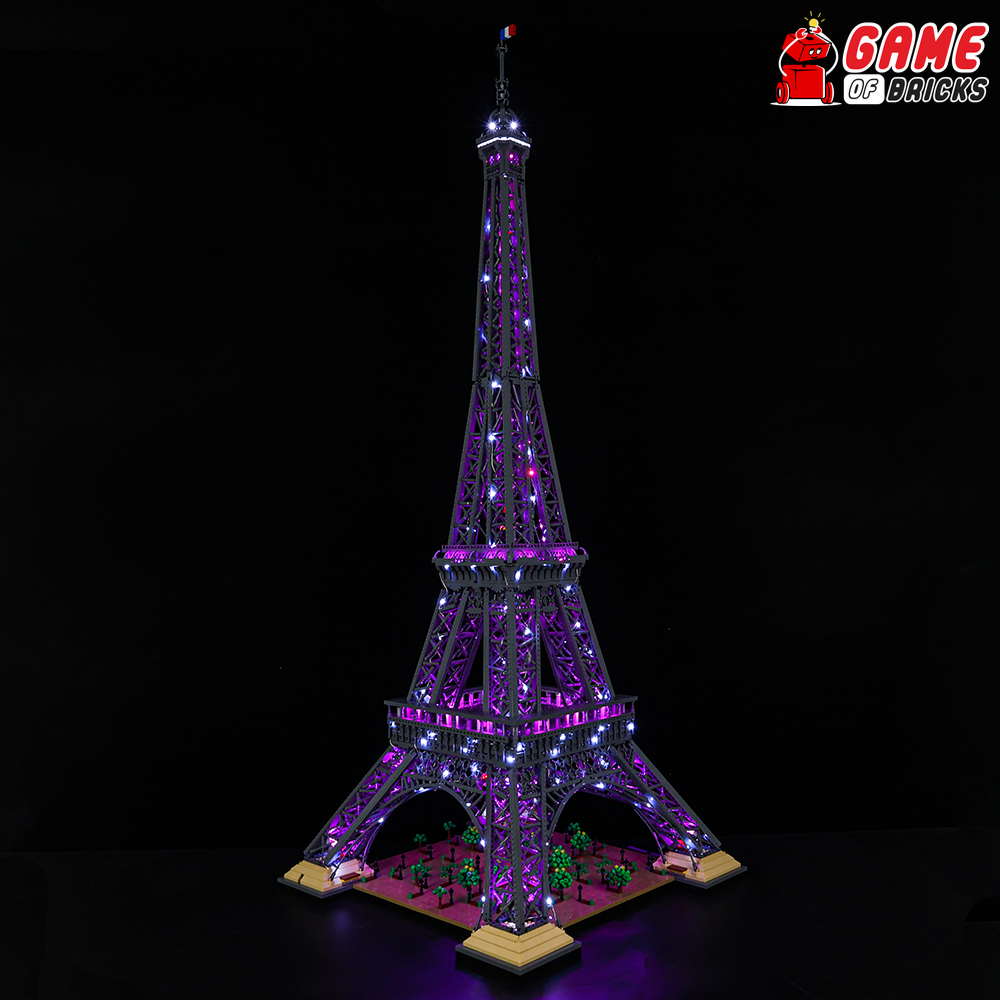
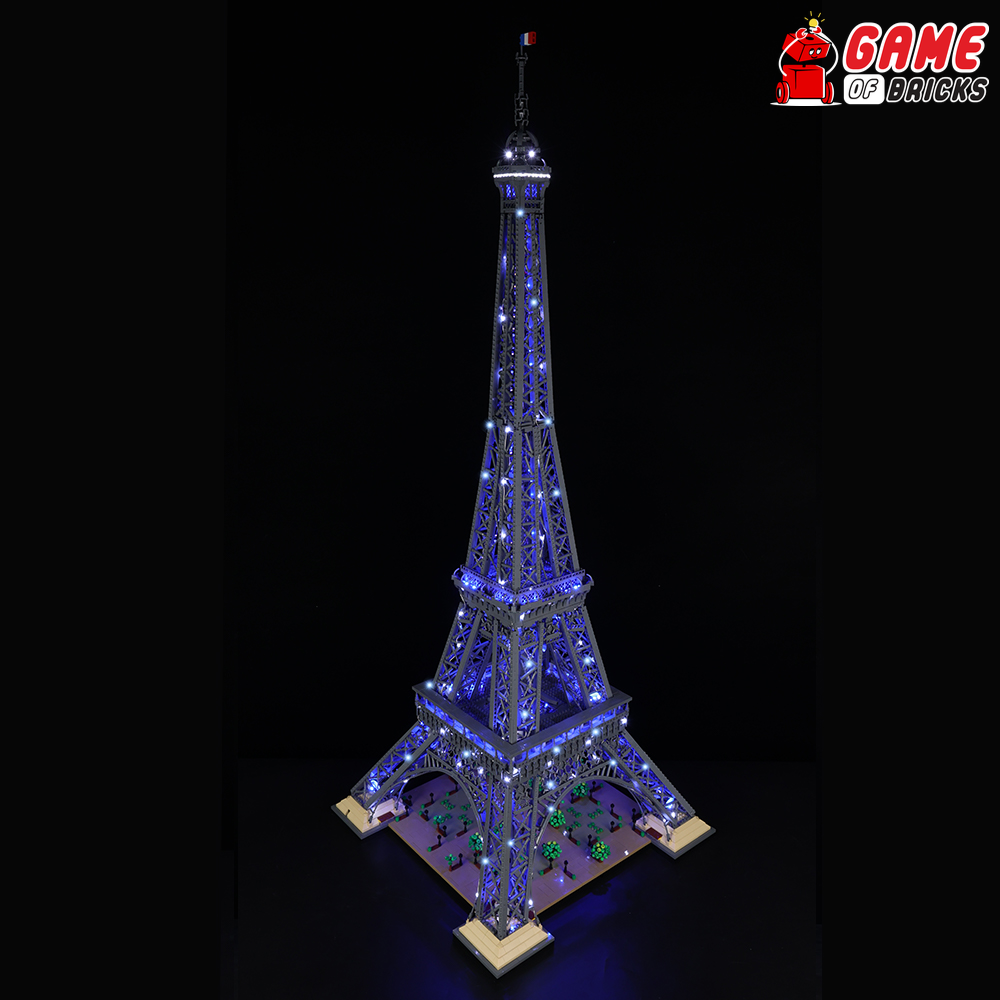
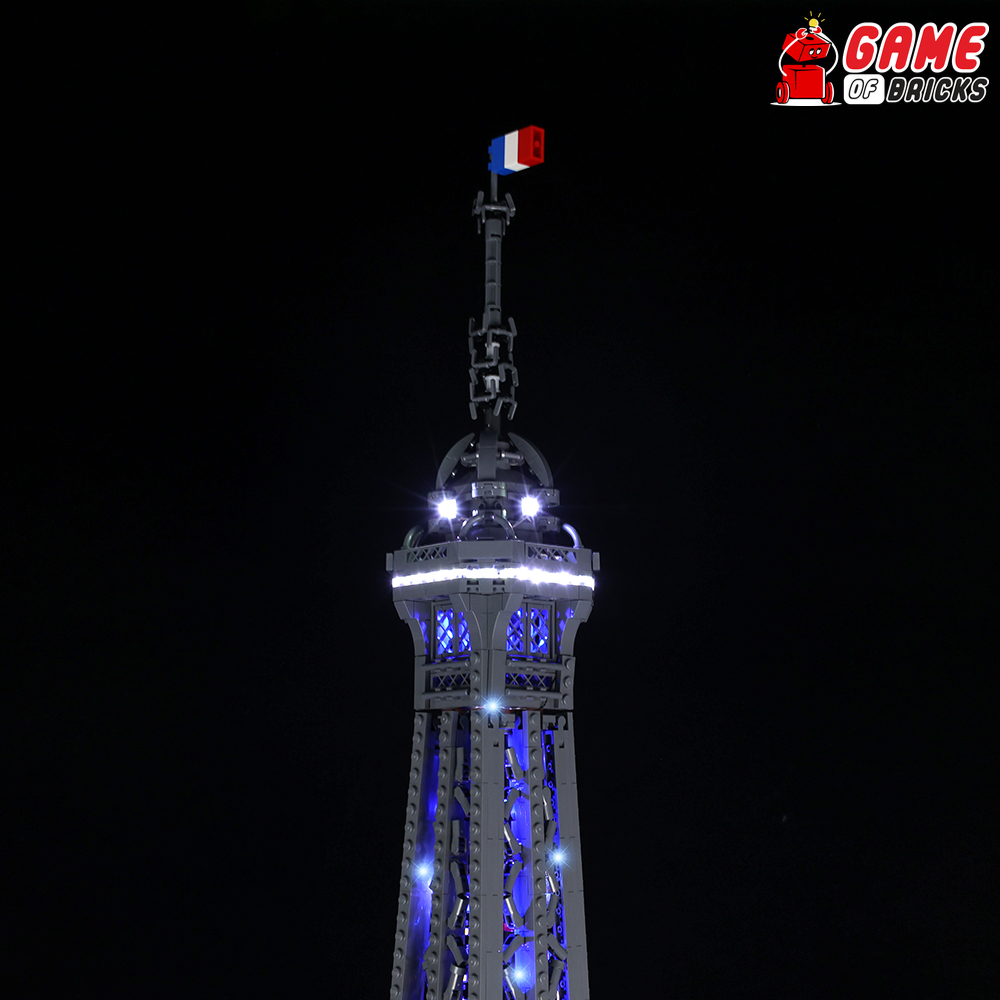
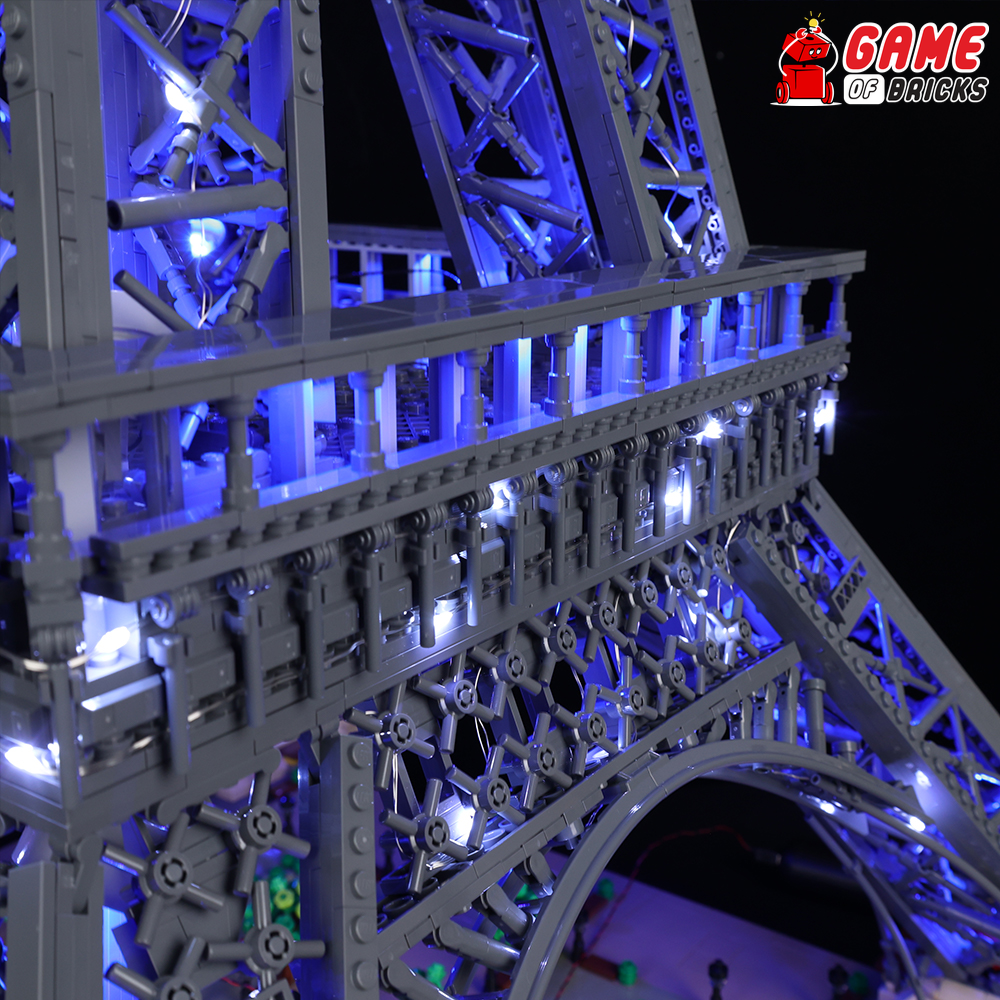
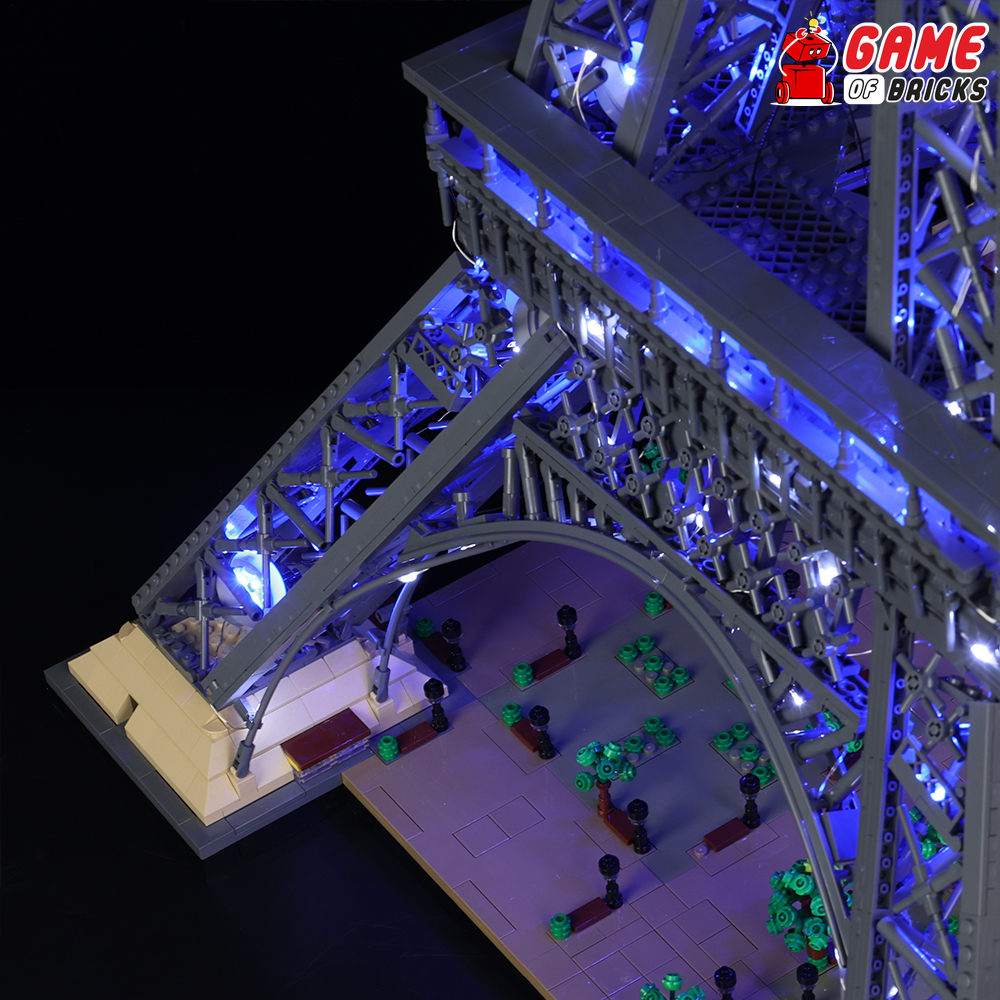
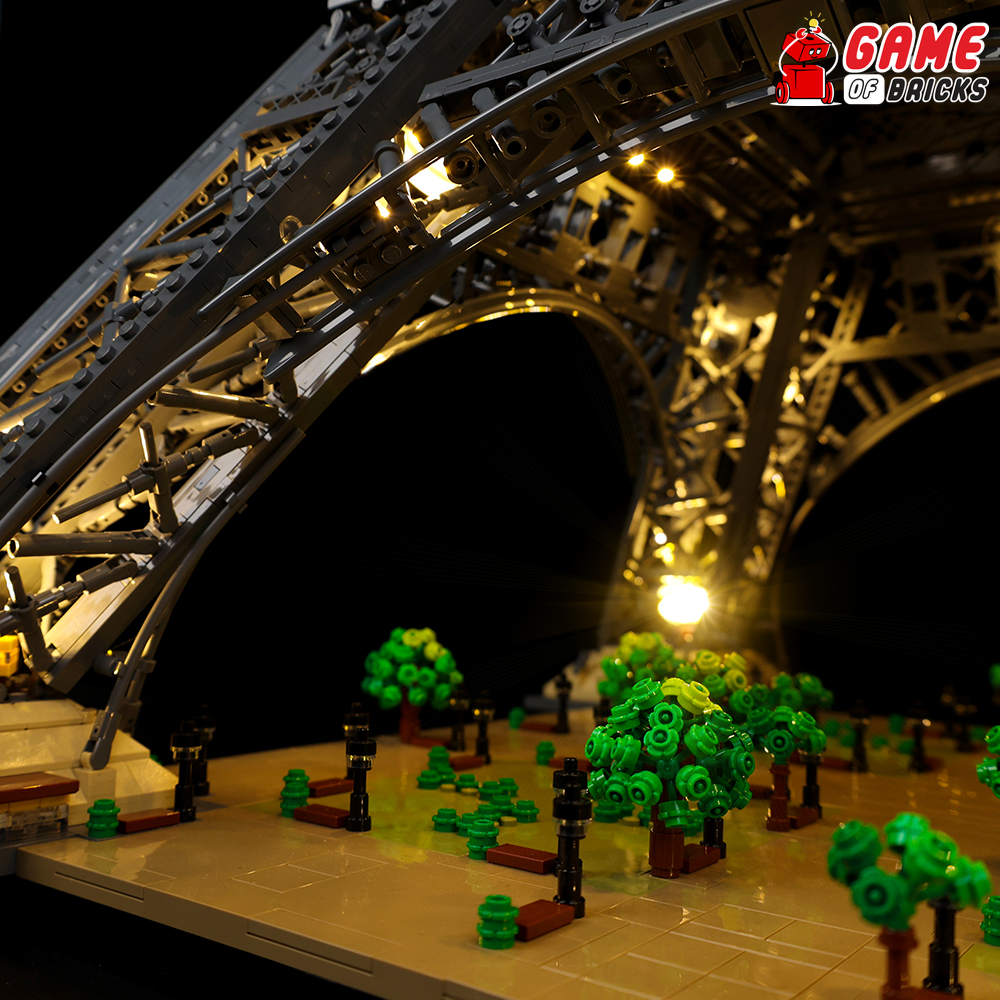
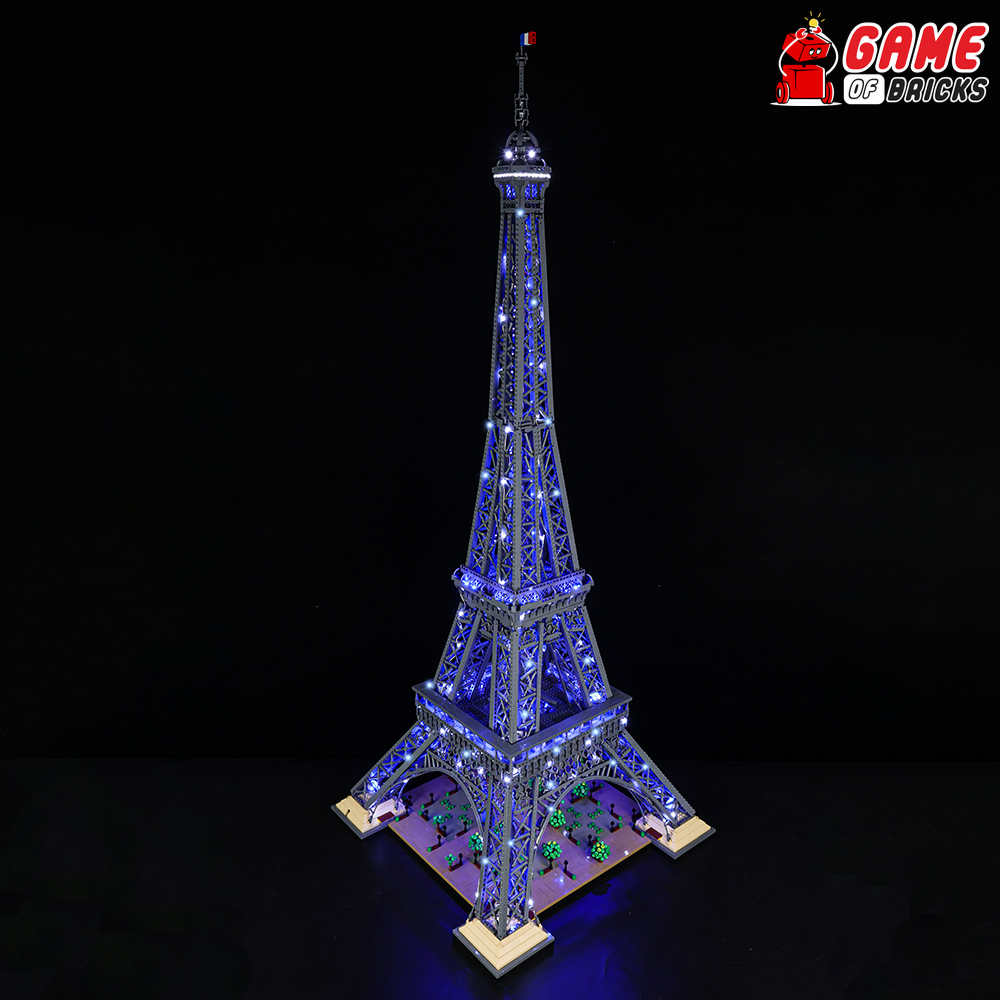
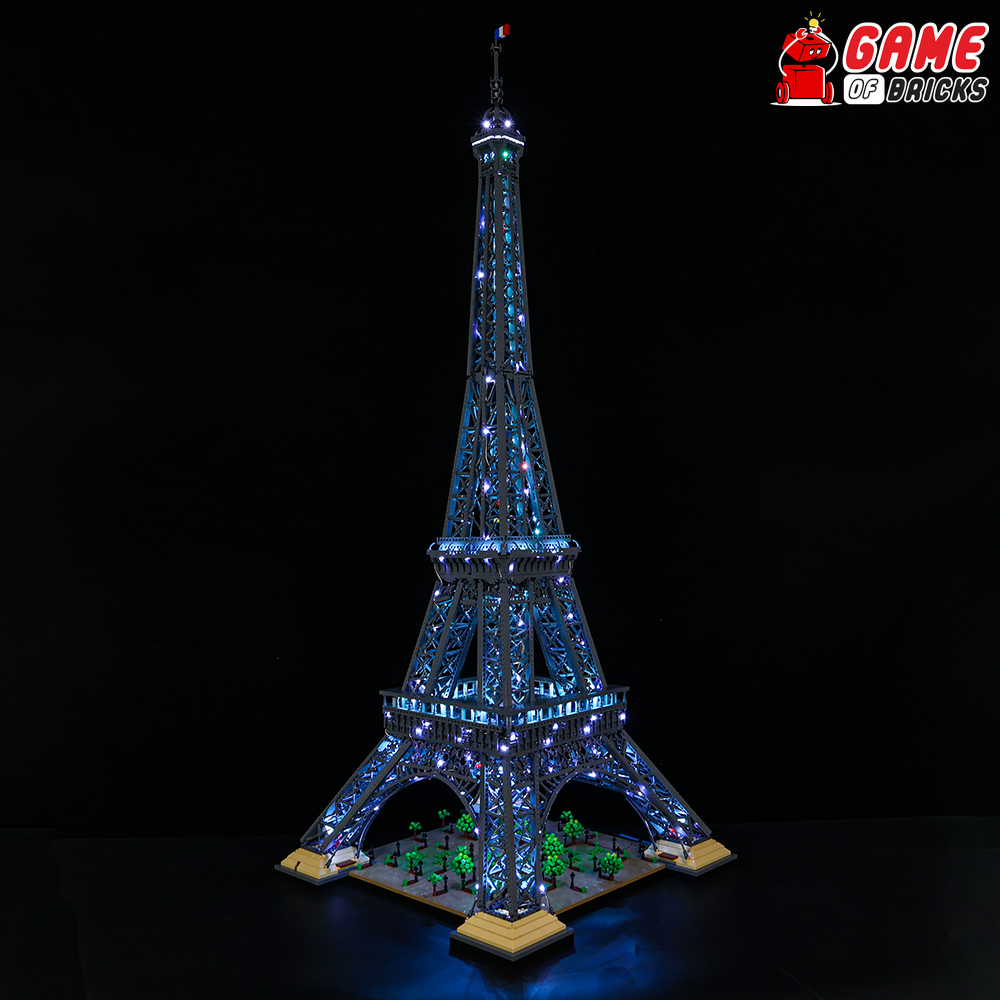
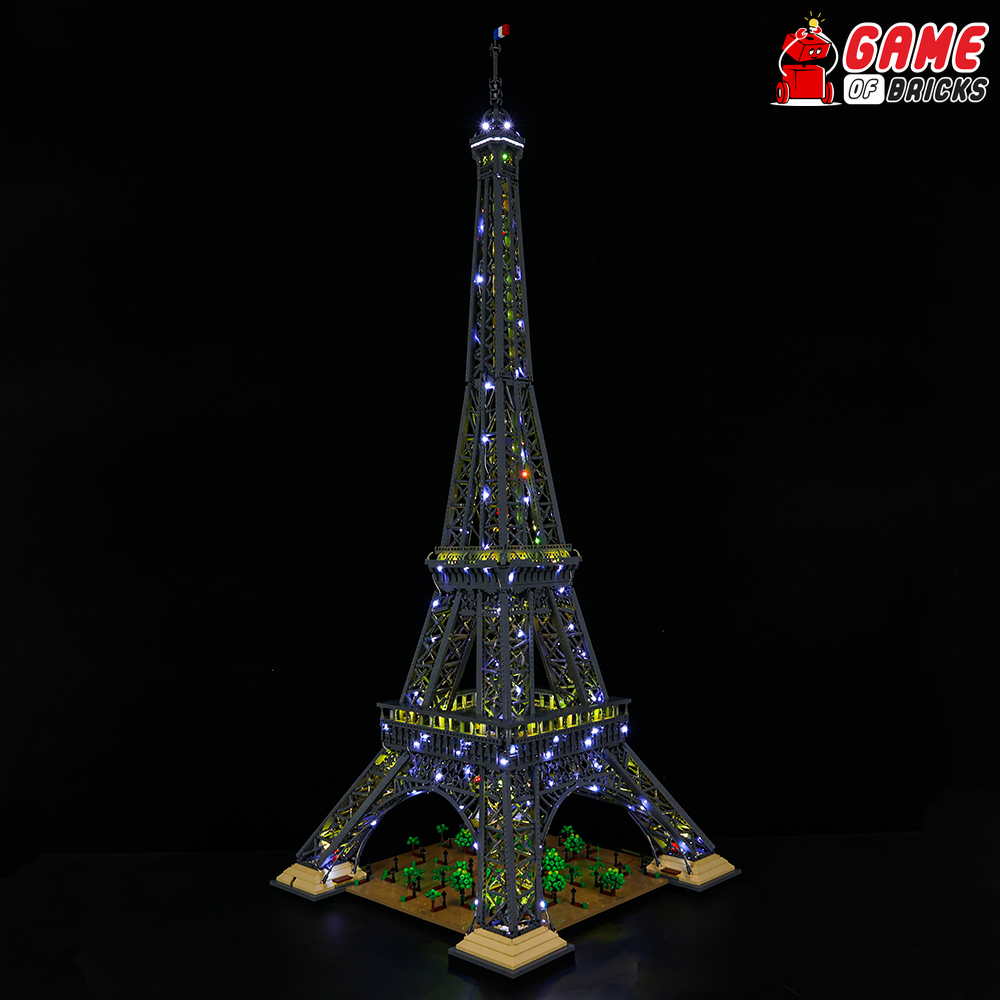
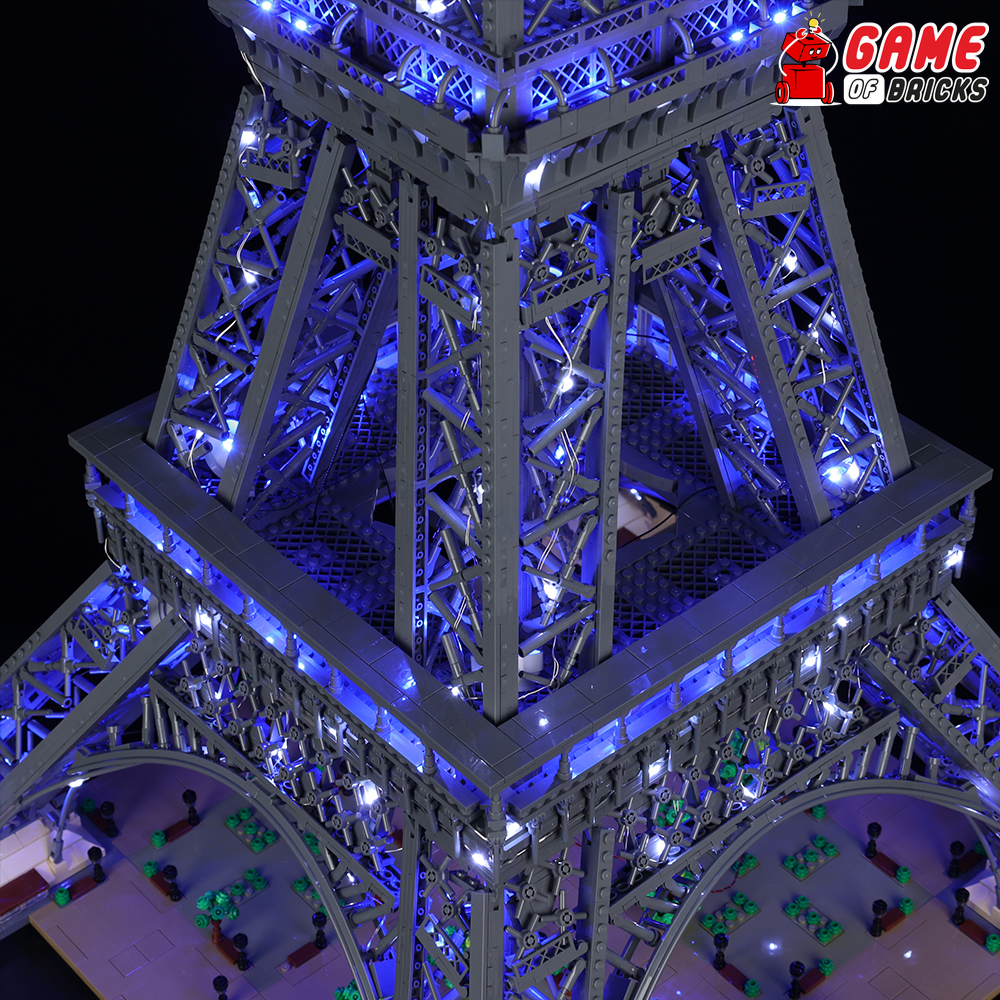
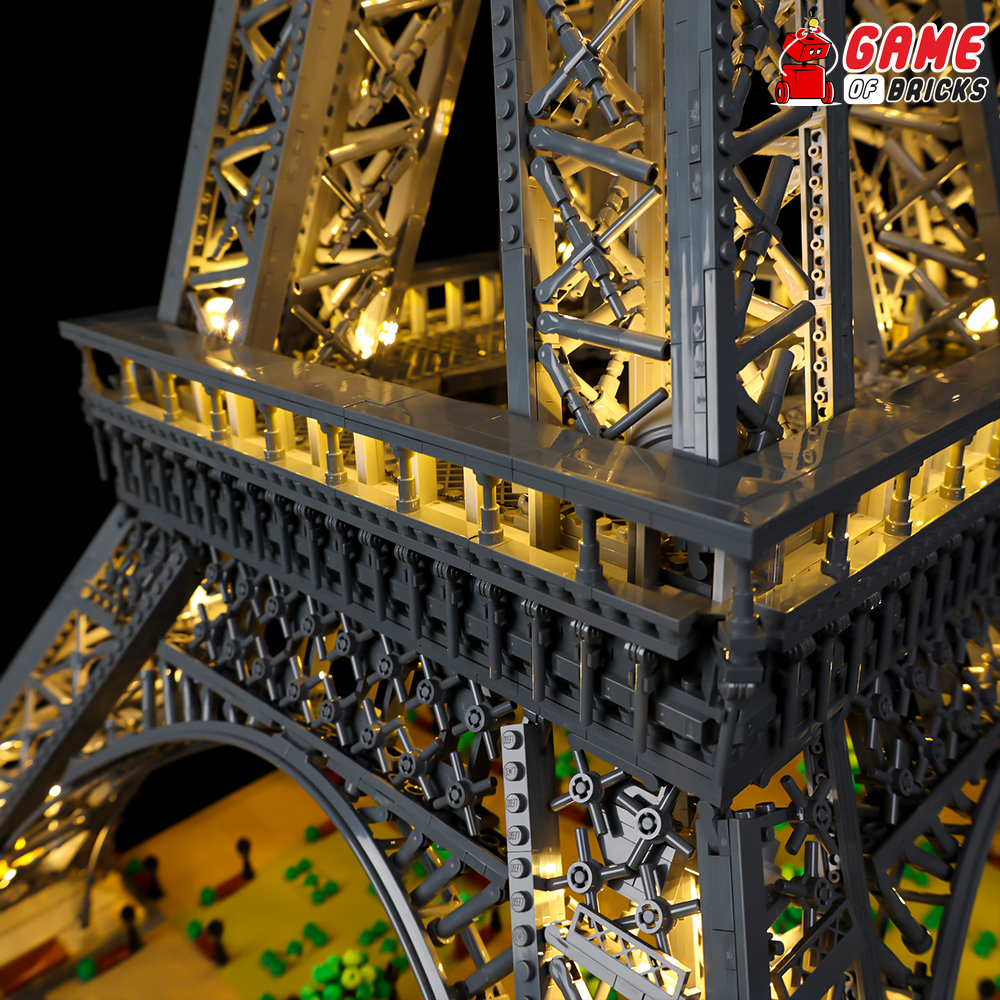
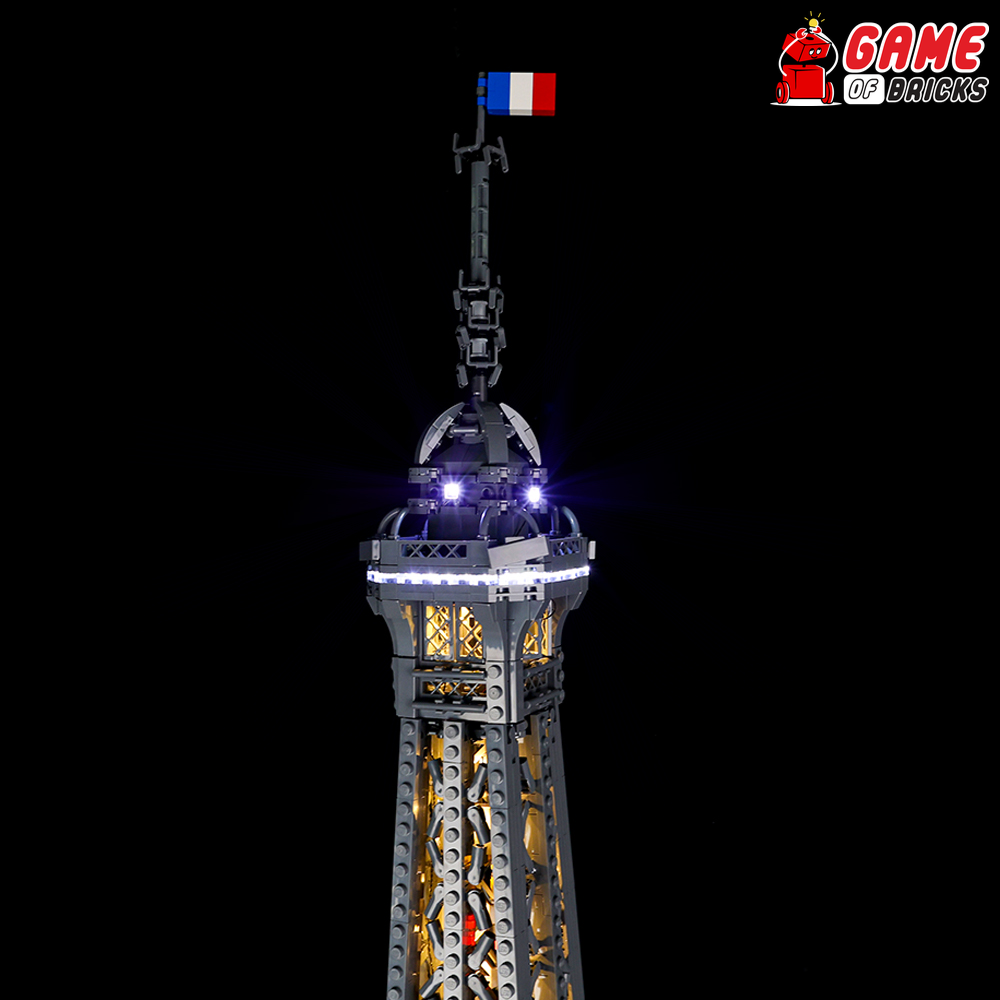
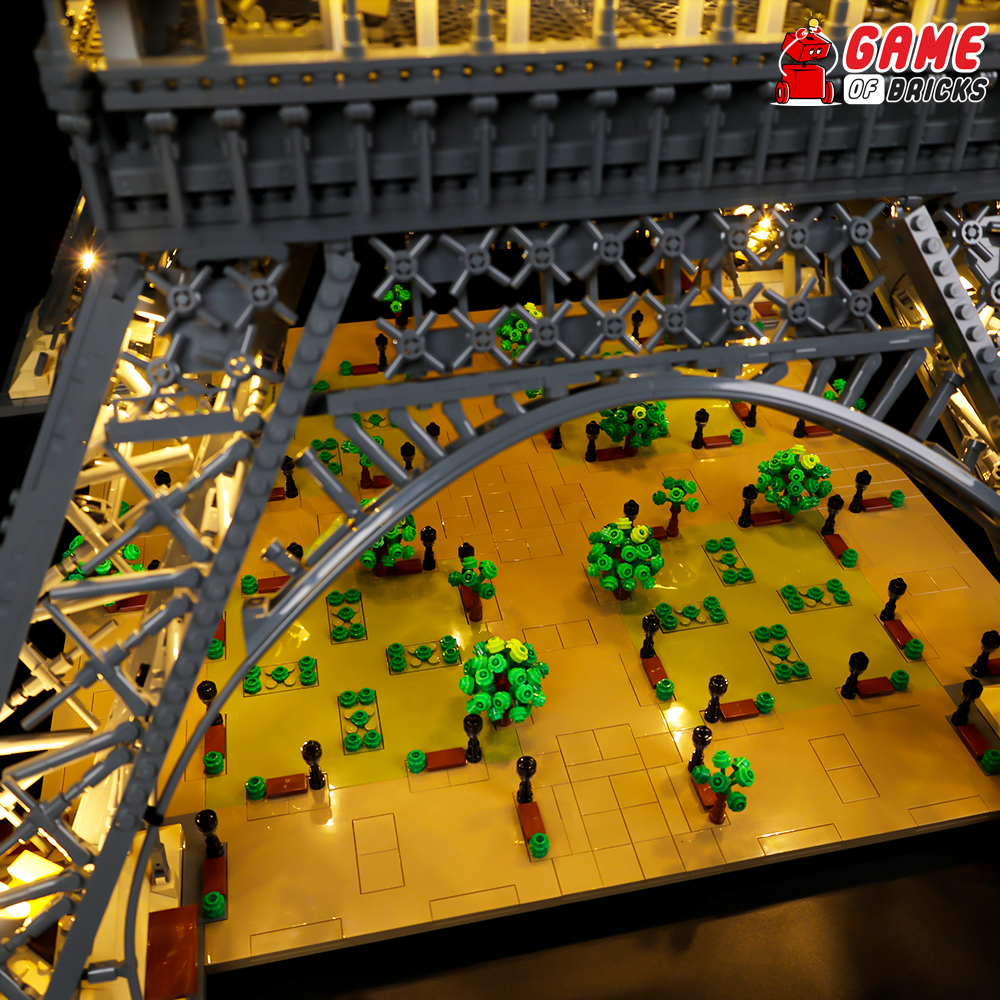
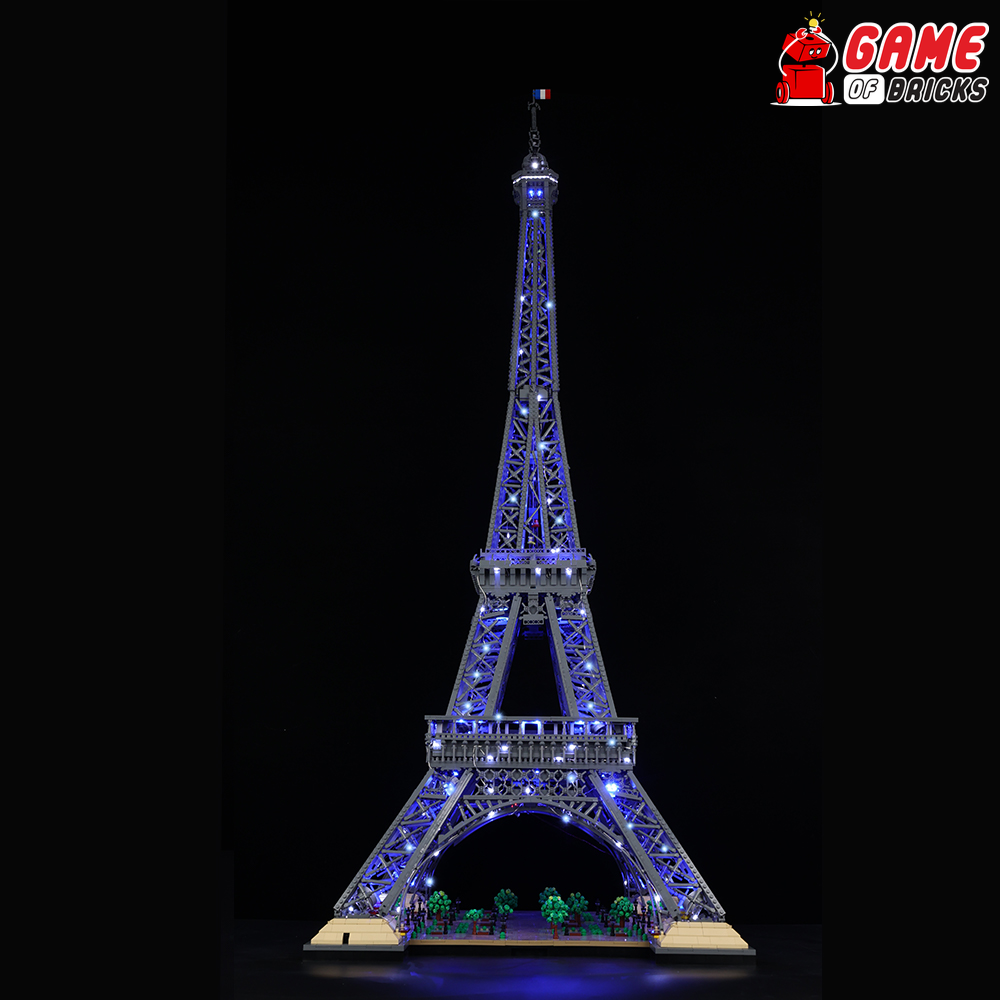
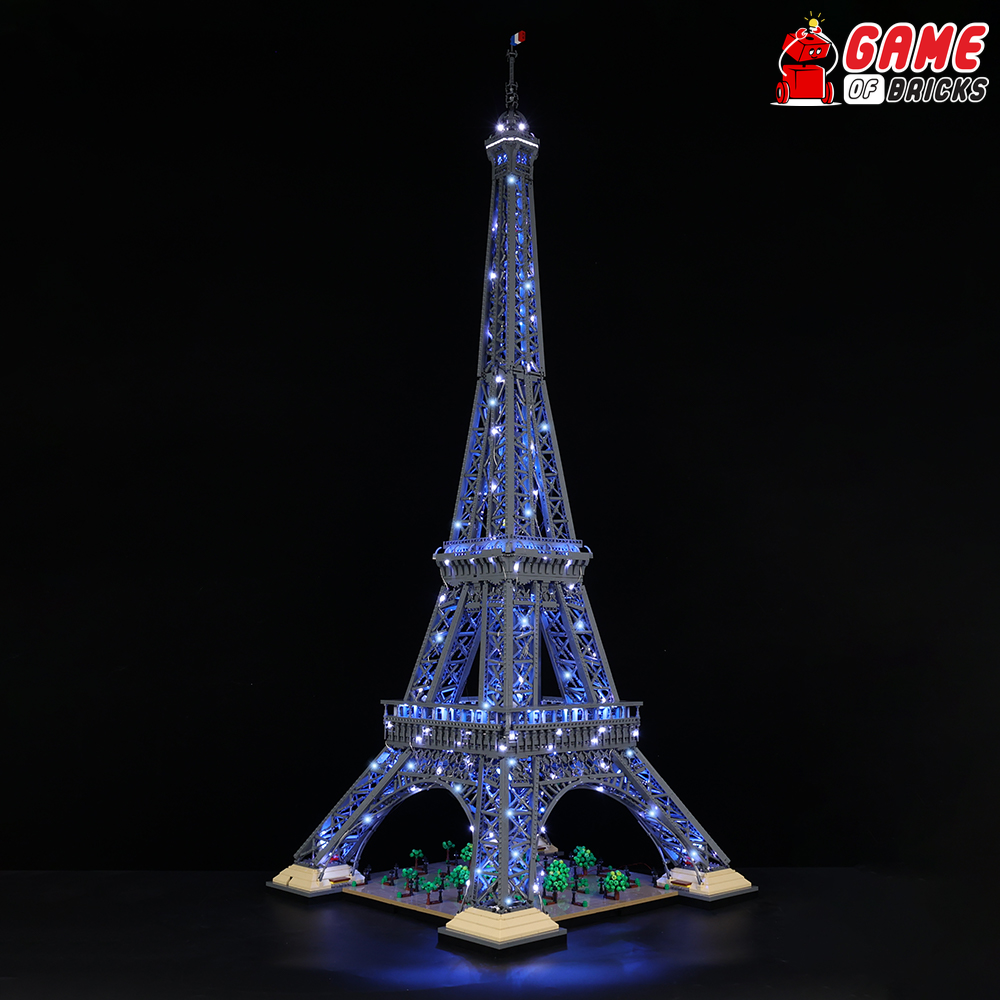
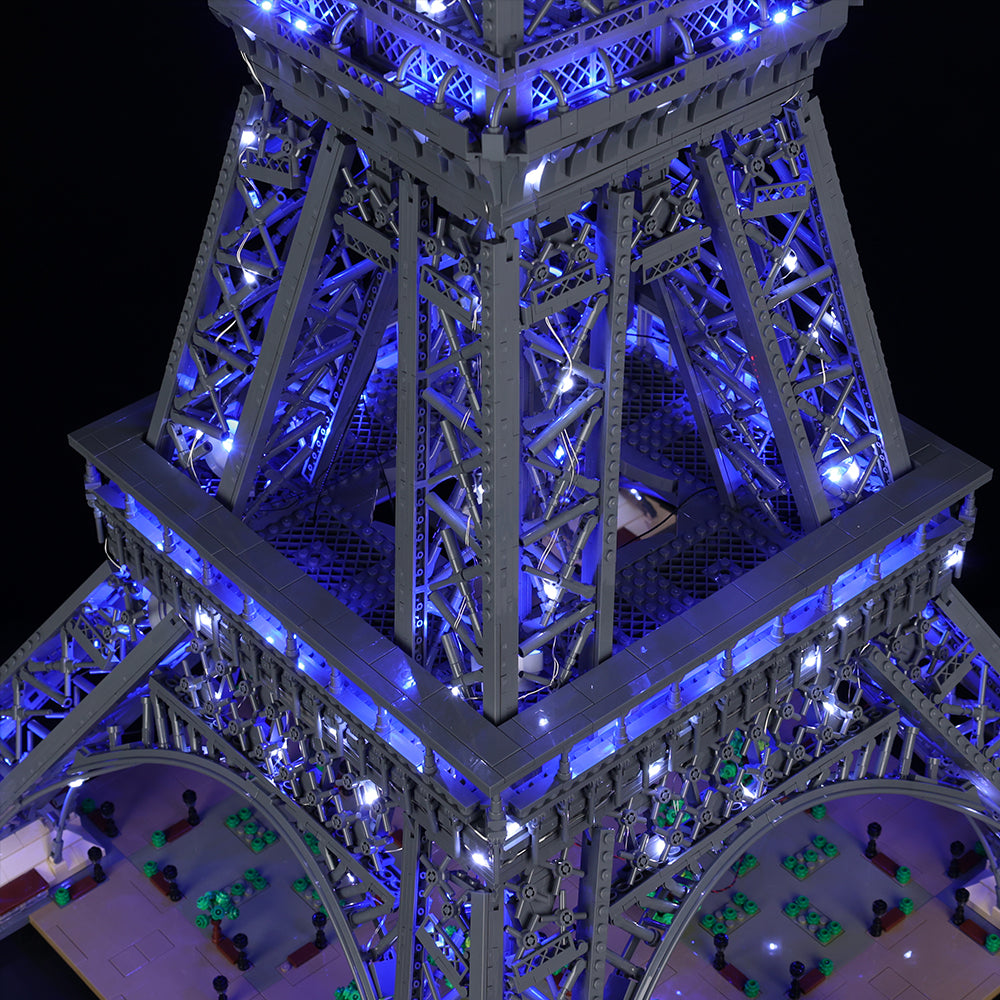
The good: you start worrying that it’s not enough lights and you should have gone with the more expensive competitor kit but it really surprises you when you turn it on. These review photos are accurate. It looks great. They’re delicate and harder than the Lego kit was to build (and frustrating because there are parts of the Lego kit that are very determined to fall off while doing the lights). It also made me the envy of every Lego geek friend I have! Totally worth it. They’ve put a ton of work into putting this kit…
Loading...
Was this helpful?